
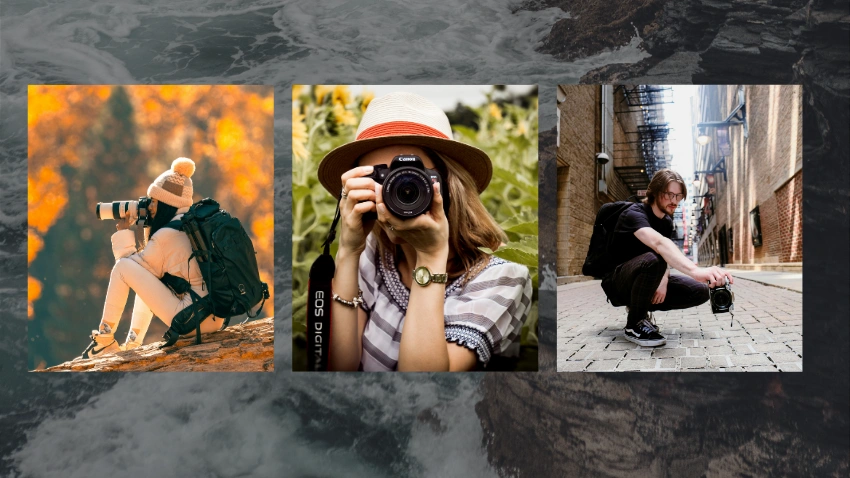
A good camera can help you capture high-quality images, but the equipment itself does not automatically make every photograph look great. Better photography comes from understanding light, composition, focus, exposure, and the small decisions you make before pressing the shutter.
Whether you use a DSLR, mirrorless camera, or another type of digital camera, learning a few practical techniques can make your photos look sharper, cleaner, and more professional. You do not need to master everything at once. Start with the basics, practice regularly, and gradually learn how different settings affect your images.
Start by Understanding the Light Around You
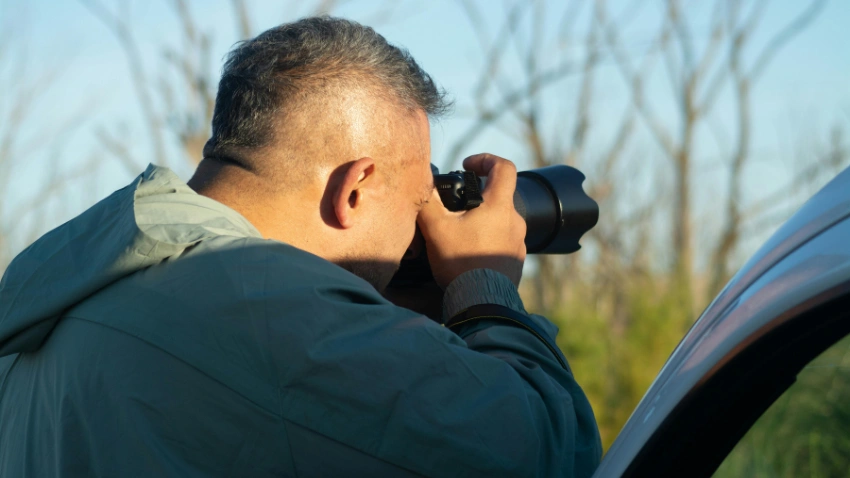
Before changing your camera settings, look at the light. Notice where it is coming from, how strong it is, and where the shadows fall. Good lighting can make an ordinary subject look much more appealing, while poor lighting can make even an interesting scene difficult to photograph.
Soft natural light is often easier to work with because it creates smoother shadows and more balanced tones. Early morning, late afternoon, and bright areas near windows can provide attractive light without the harsh contrast often found under strong midday sunlight.
Try this: Photograph the same subject with the light coming from the front, side, and behind. Compare the three images and notice how much the mood changes.
Make Composition Work for Your Subject
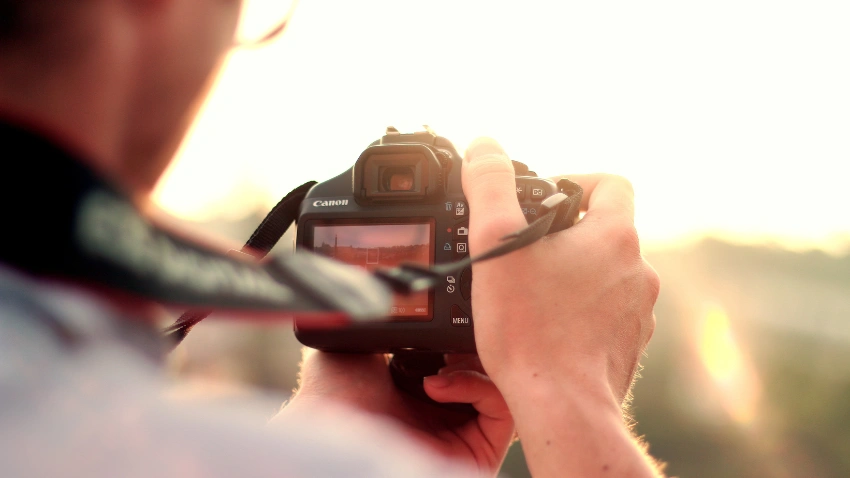
Composition is about how the different elements are arranged inside your frame. Instead of immediately pressing the shutter, take a second to decide what you want the viewer to notice first.
The rule of thirds is a useful starting point, but it is not the only approach. You can place your subject in the center when you want a strong, symmetrical image, or leave empty space around it to create a cleaner and more open feeling.
A Simple Composition Check
Before taking the photo, ask yourself:
These quick questions can improve your composition without requiring complicated photography techniques.
Get Sharp Results With Better Focus
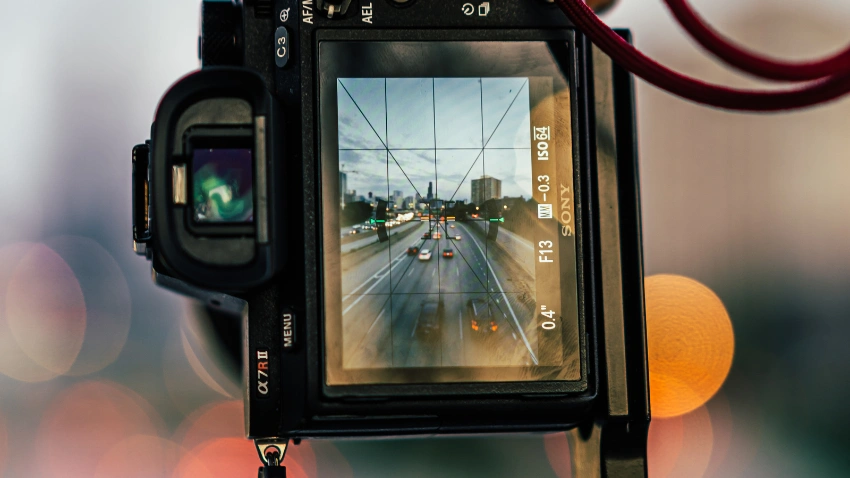
A beautiful composition loses its impact when the important part of the image is out of focus. Modern cameras offer different autofocus modes, so it helps to understand which one suits your subject.
For a person who is standing still, a single focus point can give you precise control. When photographing something moving, continuous autofocus can help the camera track the subject.
For portraits, pay particular attention to the eyes. When the eyes are sharp, the photograph usually feels much more engaging because the viewer naturally looks there first.
Use Aperture to Control the Look of Your Photo
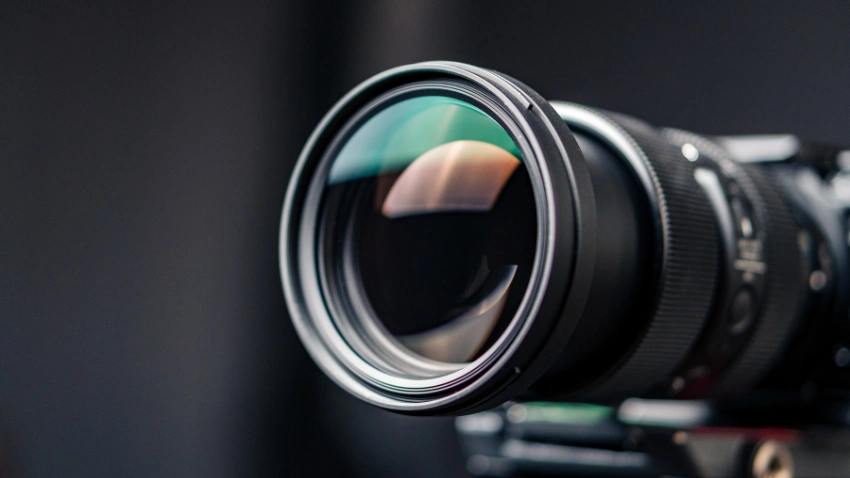
Aperture is more than an exposure setting. It can also change how much of your scene appears sharp.
A wider aperture can create a shallow depth of field, separating the subject from the background. This works particularly well for portraits, flowers, food, and other subjects where you want the viewer’s attention concentrated in one area.
A narrower aperture keeps more of the scene in focus and can be useful for landscapes, architecture, and group photographs.
| If You Want… | Consider… |
| Soft background | Wider aperture |
| More of the scene sharp | Narrower aperture |
| Strong subject separation | Wider aperture |
| More depth in a landscape | Narrower aperture |
The best aperture depends on the scene, so experiment instead of relying on one setting for every photograph.
Choose Shutter Speed Based on Movement
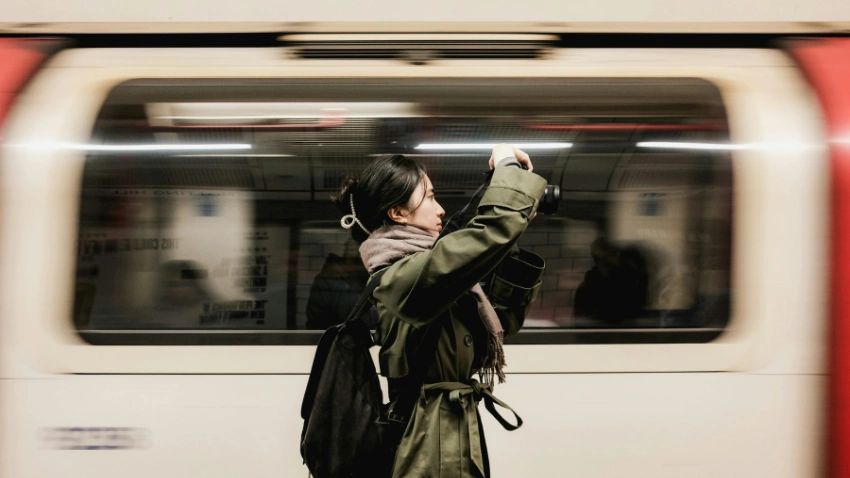
Shutter speed determines how quickly your camera captures the scene. It becomes especially important whenever your subject or camera is moving.
For sports, pets, children, or other fast-moving subjects, a faster shutter speed can help freeze the action. For waterfalls, moving lights, or other creative effects, a slower shutter speed can intentionally introduce motion into the photograph.
Quick example: If your moving subject looks blurry, try increasing the shutter speed. If you want to deliberately show movement, experiment with a slower shutter speed while keeping the camera stable.
Keep ISO Under Control
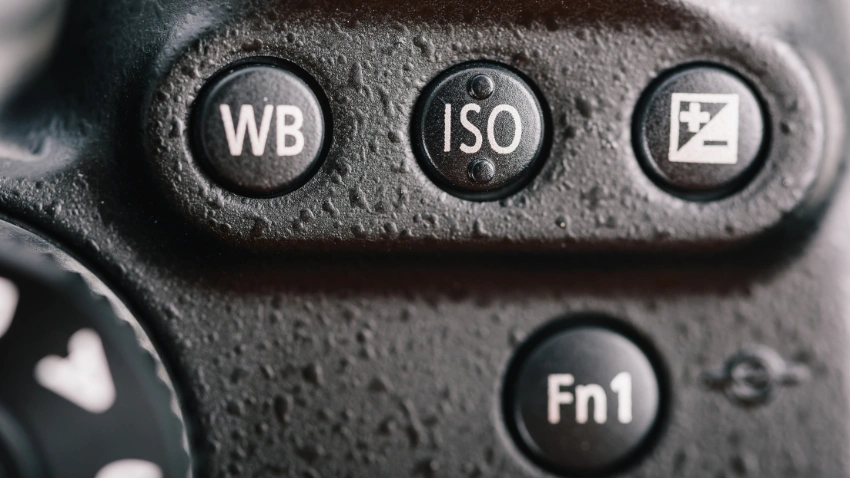
ISO can be extremely useful when there is not enough light, but increasing it too much can introduce noise and reduce the clean appearance of your photograph.
When shooting outside during the day, a lower ISO is often enough. In darker environments, you may need to raise it to maintain a useful shutter speed.
Rather than automatically choosing the highest ISO available, first consider whether you can improve the lighting, open the aperture, or stabilize the camera. These alternatives may allow you to capture a brighter image without adding unnecessary noise.
A Useful Balance
Think of ISO as part of a three-way relationship:
Aperture + Shutter Speed + ISO = Exposure
Changing one setting can affect the others, so learning how they work together will give you much greater control over your photographs.
Change Your Shooting Angle
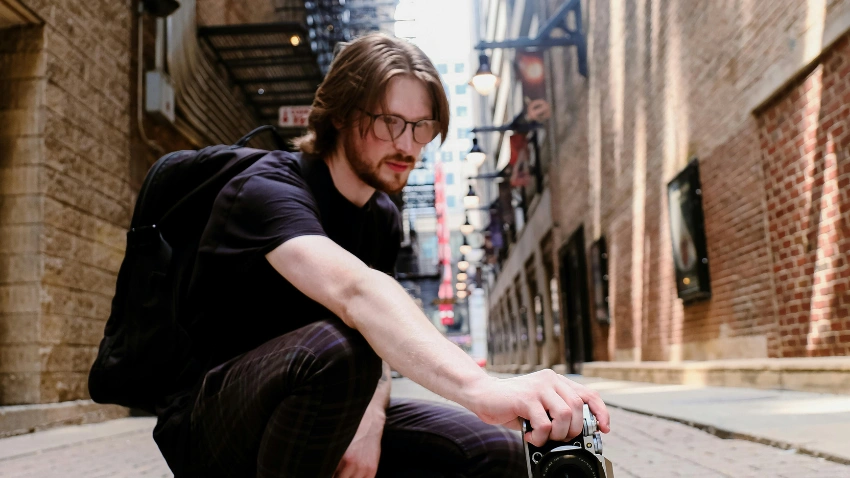
Sometimes the problem is not your camera settings at all—it is your position.
Taking a photograph from eye level is natural, but it can also make your images feel predictable. Move around your subject and look for a perspective that changes the relationship between the foreground, subject, and background.
Try getting slightly lower for a stronger perspective, moving higher for a wider view, or stepping to the side to reveal details that were hidden from your original position.
One subject, three angles: Take one photo from your normal position, one from a lower angle, and one from the side. Compare them before deciding which composition works best.
Clean Up the Background Before You Shoot
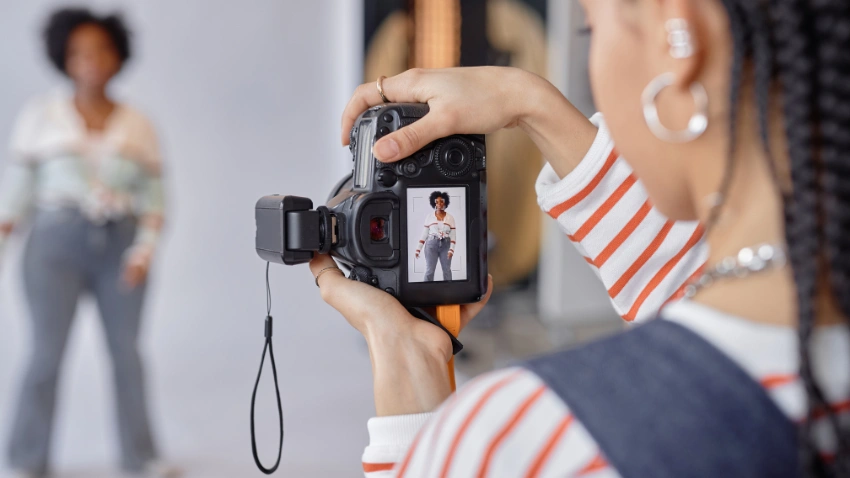
A busy background can quietly ruin an otherwise strong photograph. Bright signs, random objects, messy surfaces, or people in the distance can pull attention away from your main subject.
Before pressing the shutter, look around the edges of the frame as well as the center. If something distracting appears, you may be able to remove it simply by changing your position.
Moving closer, changing the camera angle, using a wider aperture, or waiting for someone to move out of the frame can make the background much cleaner.
A simple background does not mean an empty background. The goal is to make sure the background supports the subject rather than competing with it.
Use Framing to Add More Interest
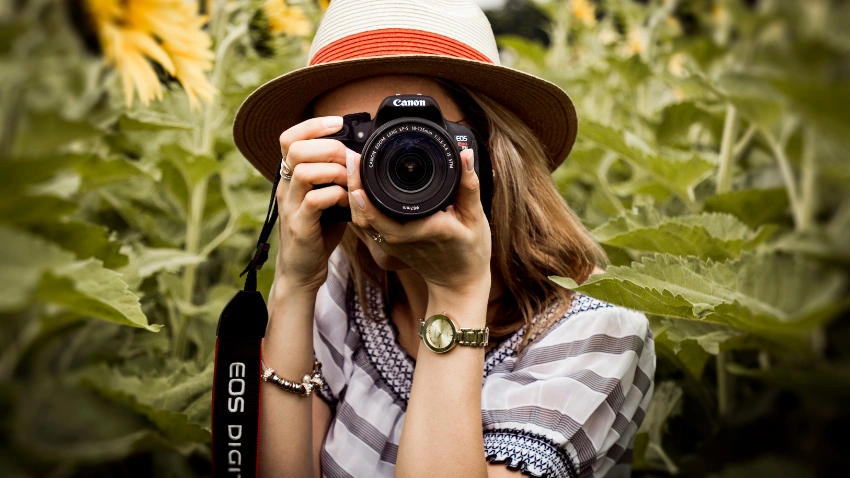
Look around your environment for natural elements that can surround or lead toward your subject. Doorways, windows, trees, arches, fences, and other objects can create a frame inside your photograph.
This technique gives the viewer a visual path toward the main subject and can also add depth to an otherwise flat-looking image.
For travel and outdoor photography, try placing something closer to the camera in the foreground while keeping your main subject farther away. This simple change can make the scene feel more three-dimensional.
Check Exposure Before Taking a Series
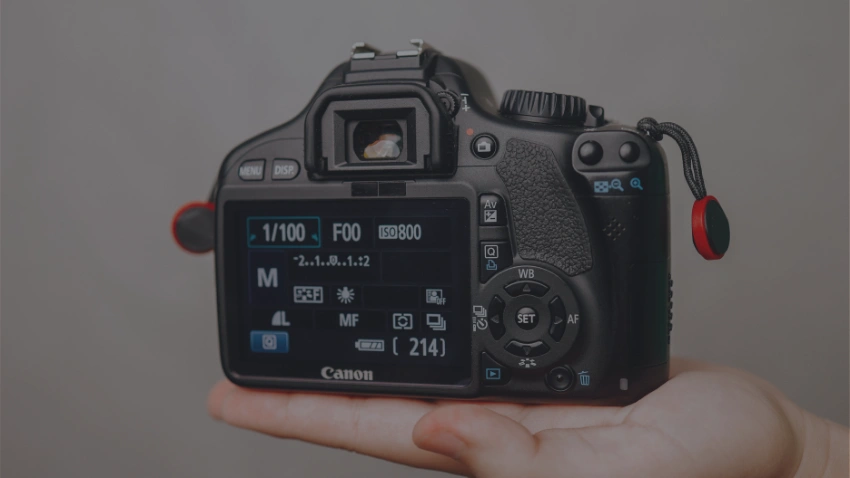
A photograph that is too bright can lose detail in highlights, while one that is too dark may hide important details in the shadows. Checking exposure before taking several photos can save you from discovering the problem later.
Your camera’s exposure meter can provide a useful indication, while the histogram can give you a more detailed look at how brightness is distributed throughout the image.
When the Scene Is Difficult
High-contrast scenes can be tricky because the bright and dark areas may be very different. In these situations, consider:
Small adjustments at the time of capture can reduce the amount of correction needed later.
Edit With a Light Touch
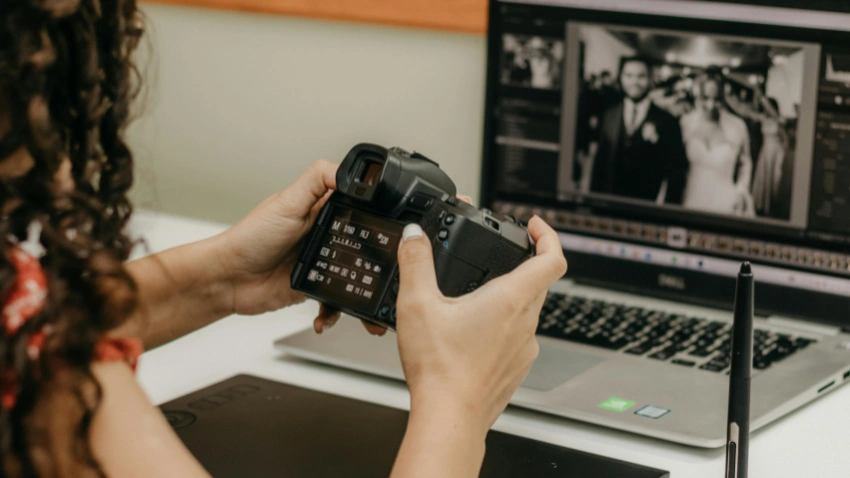
Editing can improve an already good photograph, but it should not have to rescue every image. Start with basic adjustments such as exposure, contrast, highlights, shadows, white balance, and cropping.
Avoid increasing every slider simply because the editing software provides the option. Excessive sharpening, saturation, or contrast can make an image look unnatural.
A useful approach is to make an adjustment and then compare it with the original. If the edited version looks noticeably better while still appearing natural, the change is probably helping rather than distracting.
Turn Practice Into a Photography Habit
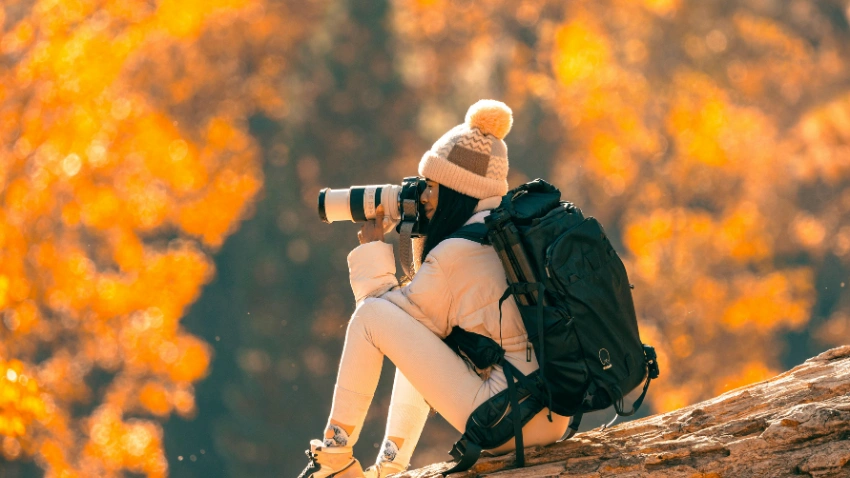
Improvement comes from paying attention to what works. Instead of taking photographs without reviewing them, occasionally look back at your images and ask what made certain shots stronger than others.
You may notice that your favorite photographs have similar lighting, angles, backgrounds, or compositions. These patterns can help you understand your own preferences and make more intentional decisions the next time you use your camera.
Try a Different Challenge Each Week
You can keep practice interesting by giving yourself a small photography challenge. One week, concentrate on composition. Another week, experiment with shutter speed. Later, try portraits, shadows, reflections, or low-light photography.
The goal is not to take hundreds of random photos. It is to understand why one photograph works better than another.
Learning how to take better photos with your camera is a gradual process. You do not need expensive equipment or complicated techniques to start seeing improvement. Better light, stronger composition, accurate focus, suitable exposure, and a more thoughtful shooting position can make a noticeable difference.
Most importantly, give yourself time to experiment. Try different settings, photograph familiar subjects in unfamiliar ways, and review your results afterward. As you become more comfortable with your camera, technical settings will start to feel less complicated and your creative decisions will become more natural.
Frequently Asked Questions
Start with lighting and composition. Pay attention to where the light falls, remove distracting background elements, and try several angles before choosing your final photograph.
There is no single setting that is always the most important. Aperture, shutter speed, and ISO work together, and the appropriate combination depends on the subject and lighting conditions.
Focus carefully, use good light, keep the camera steady, create a clean composition, and avoid distracting backgrounds. Subtle editing afterward can also improve the final image.
Not necessarily. A low ISO can help produce cleaner images, but increasing ISO can be useful when lighting is limited and you need a faster shutter speed.
Blur can result from camera shake, subject movement, or an unsuitable focus setting. Try using a faster shutter speed, stabilizing the camera, and selecting an appropriate autofocus mode.
No. Manual mode gives you more control, but aperture priority, shutter priority, and other camera modes can also produce excellent results. The important thing is understanding how your chosen settings affect the final photograph.
Share This Article